Skip to main content
Menu
ABOUT
STREAM NOW
WATCH TRAILERS
SEASON ONE
SEASON TWO
SEASON THREE
RENT THE SERIES
SEASON ONE
SEASON TWO
SEASON THREE
IN THE NEWS
THE CAST
SEASON ONE
SEASON TWO
SEASON THREE
THE PODCAST
THE MUSIC
WATCH INTERVIEWS
DOWNLOAD POSTERS
SEASON ONE
SEASON TWO
SEASON THREE
LOGO
GALLERY
SERIES
BEHIND-THE-SCENES
MEDIA
AWARDS
IMDb
instagram
Search
Close Search
BEHIND-THE-SCENES GALLERY
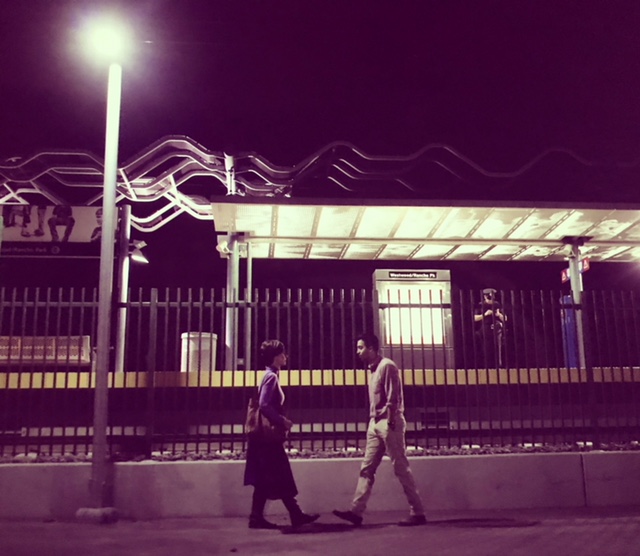
aaron kahn on location season two
amc on location for the pilot
anne marie and gustavo_edited-1
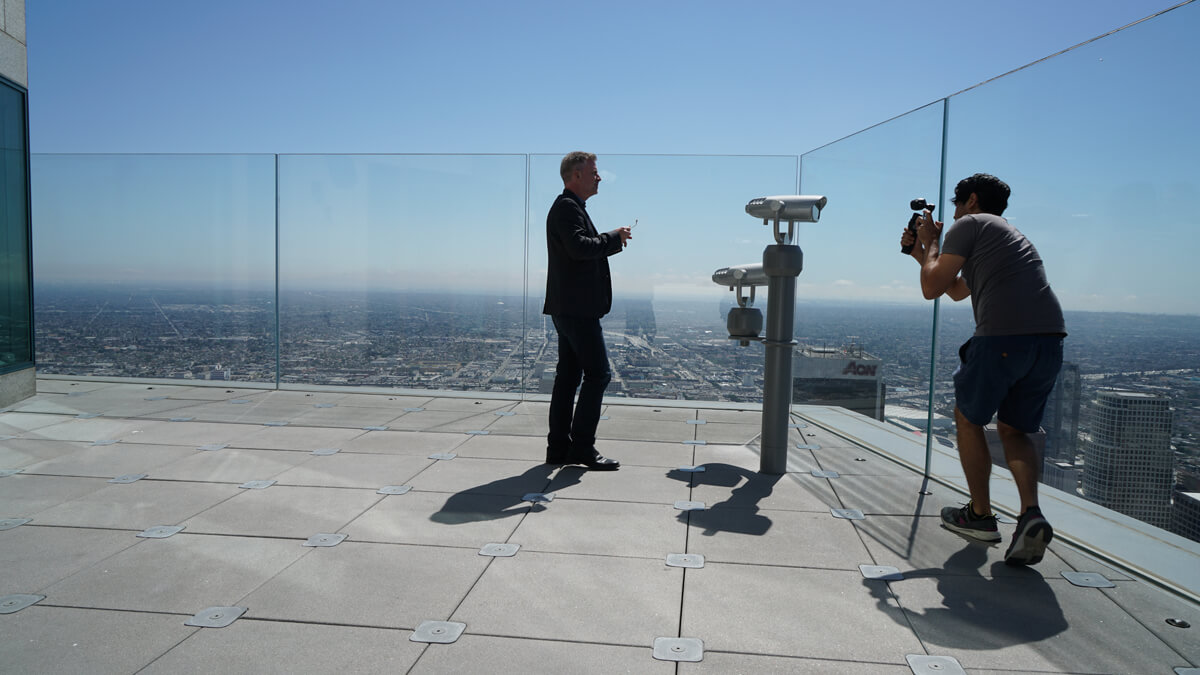
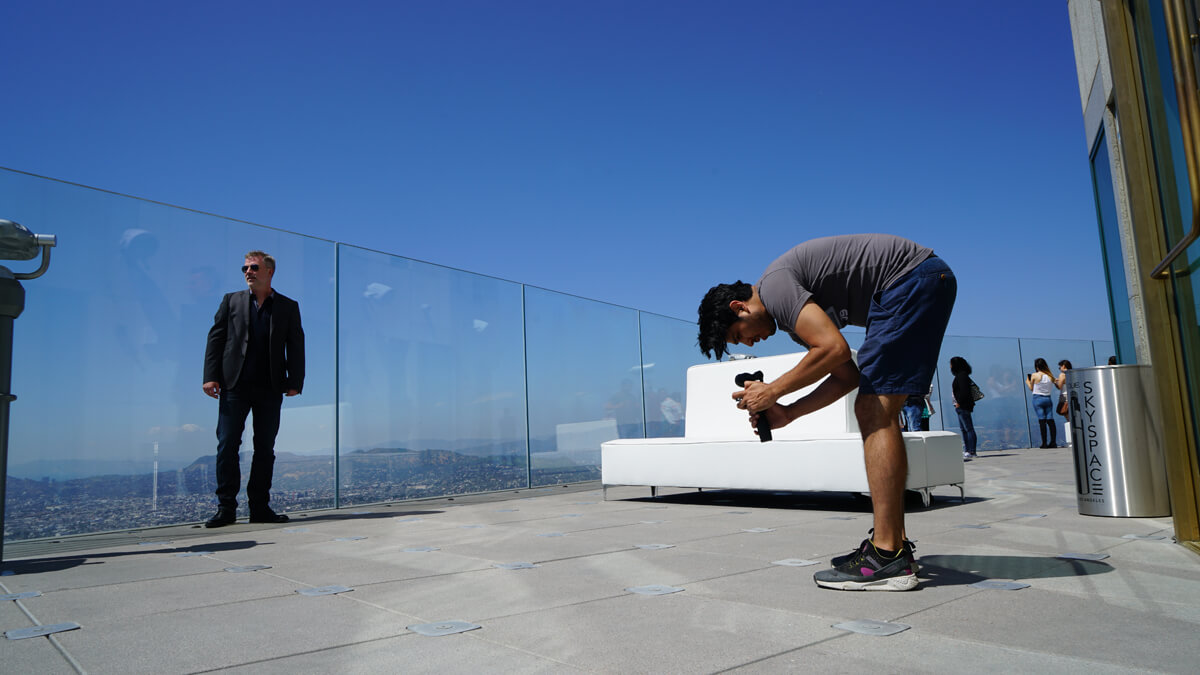
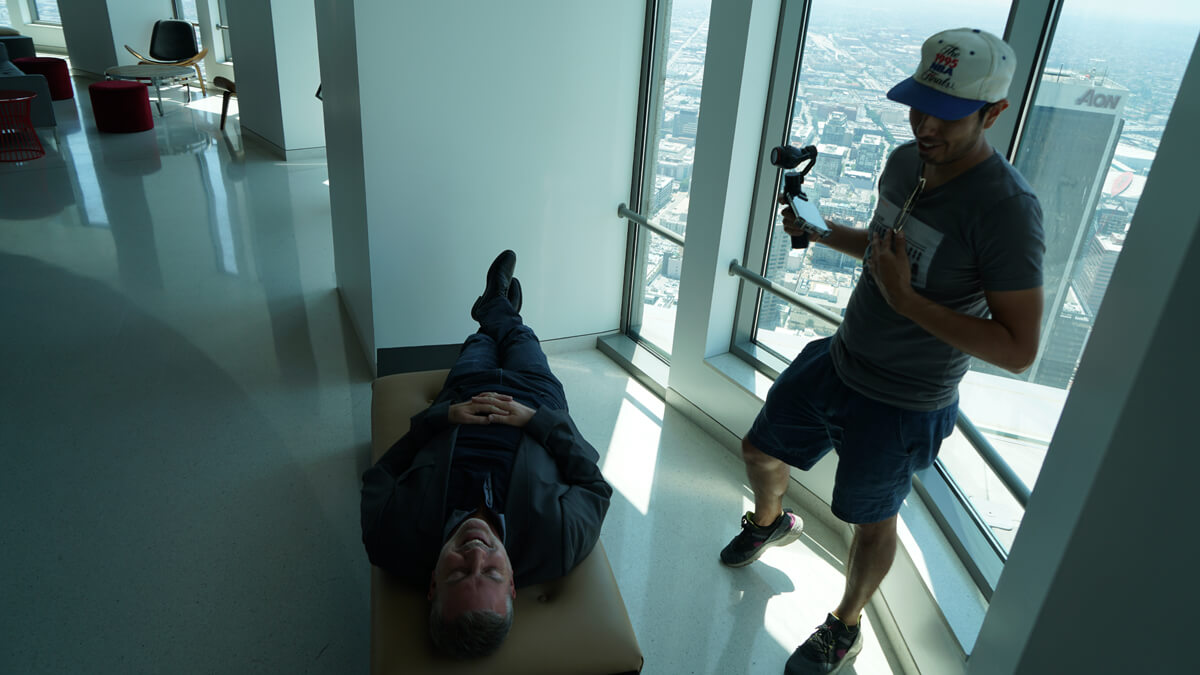
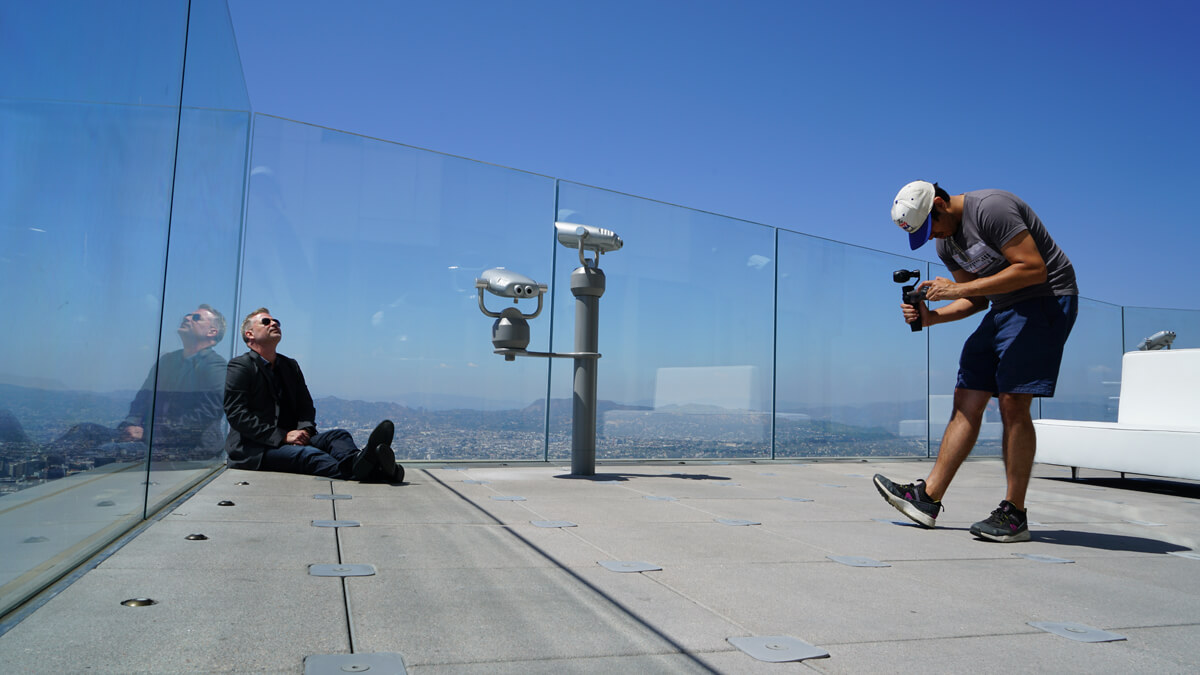
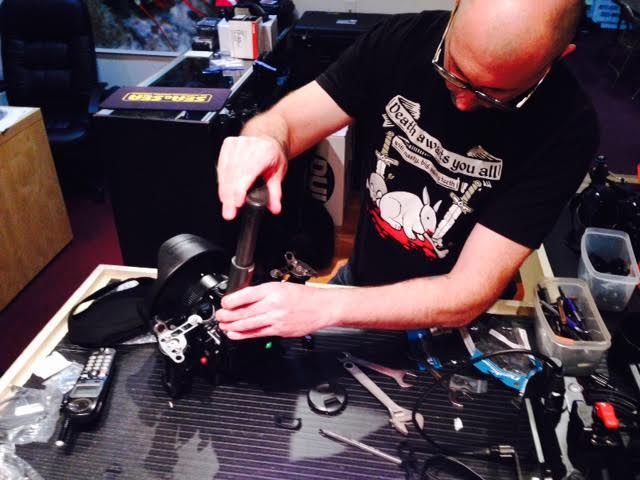
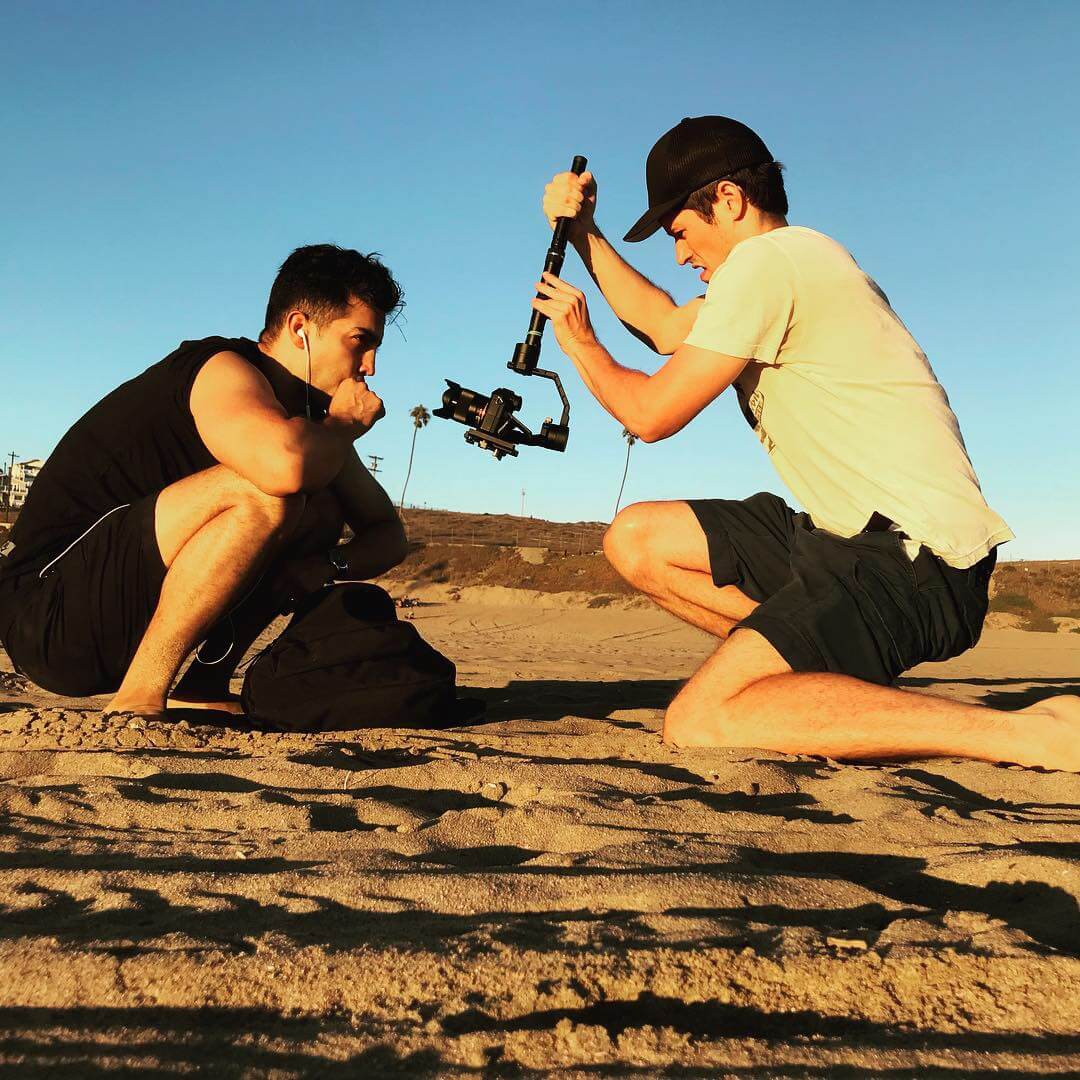
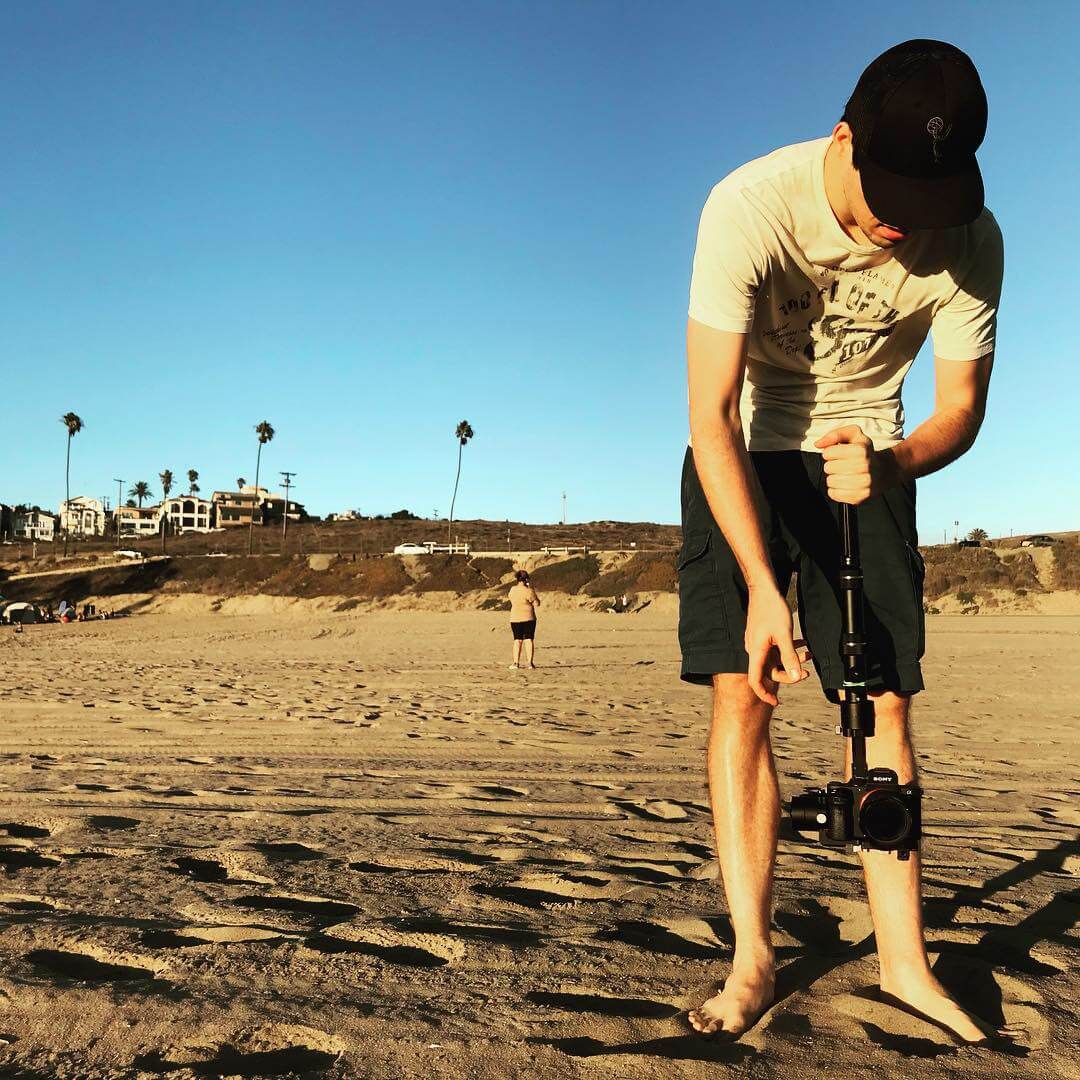
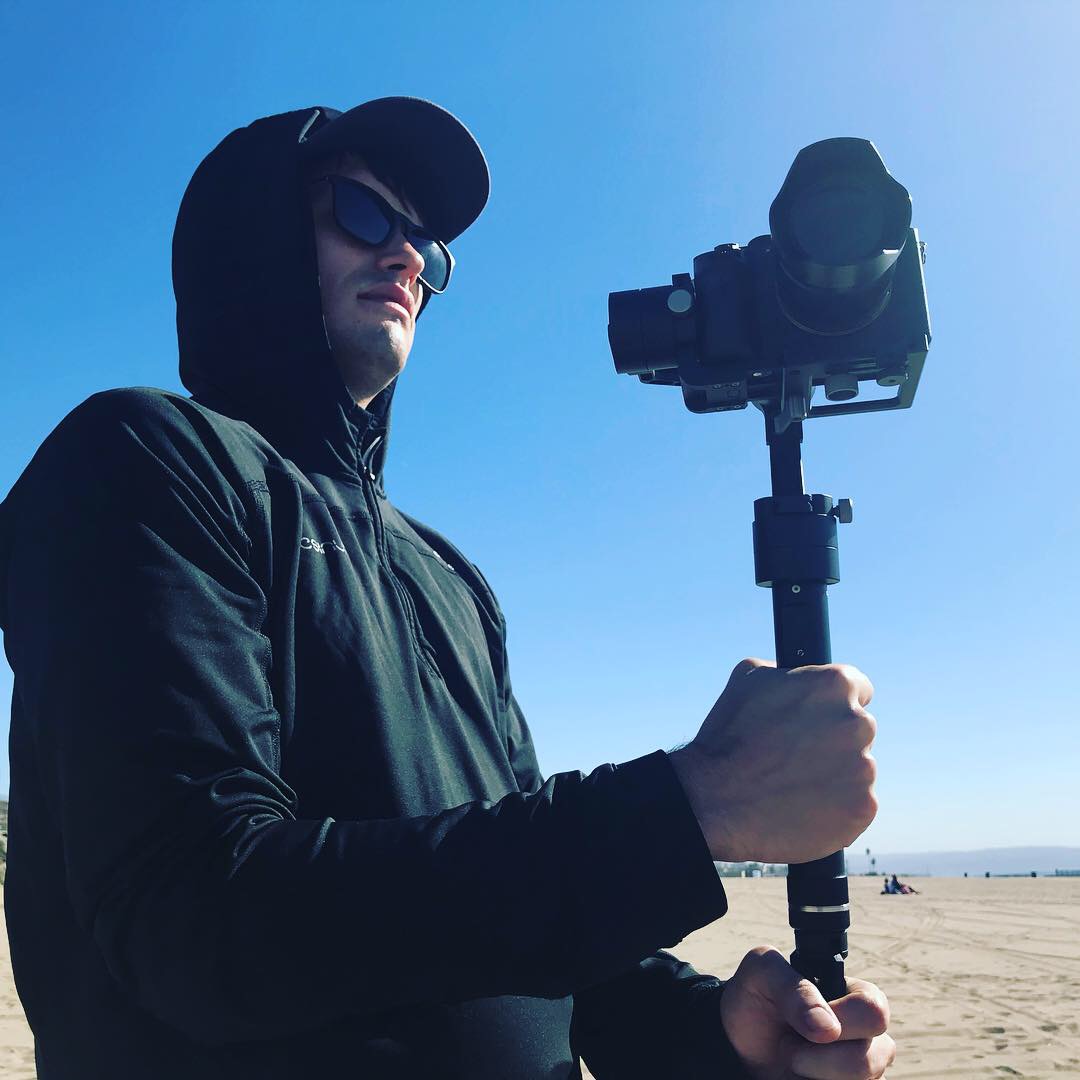
Behind-the-scenes of truth and lies - the limber cinematographer
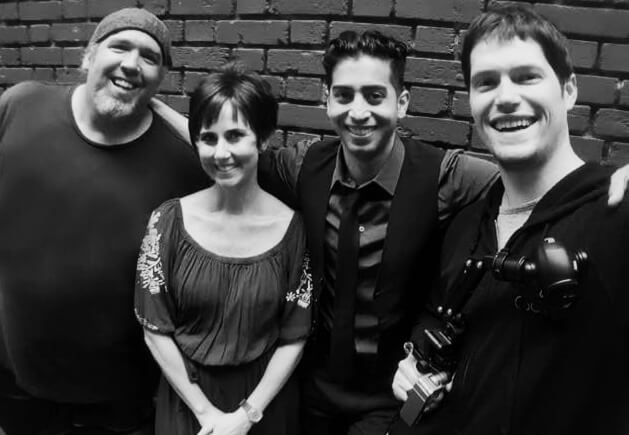
BRETT BENNER AND STERLING JONES-2
DSC02866
DSC02868
FullSizeRender
Gallery - Filming the Outro for Episode three - 3
Gallery - Filming the Outro for Episode three - 5
Gallery - Filming the Outro for Episode three - 6
Gallery - Filming the Outro for Episode three - 7
Gallery - Filming the Outro for Episode three - 8
Gallery - Filming the Outro for Episode three - 11
Gallery - Filming the Outro for Episode three - 12
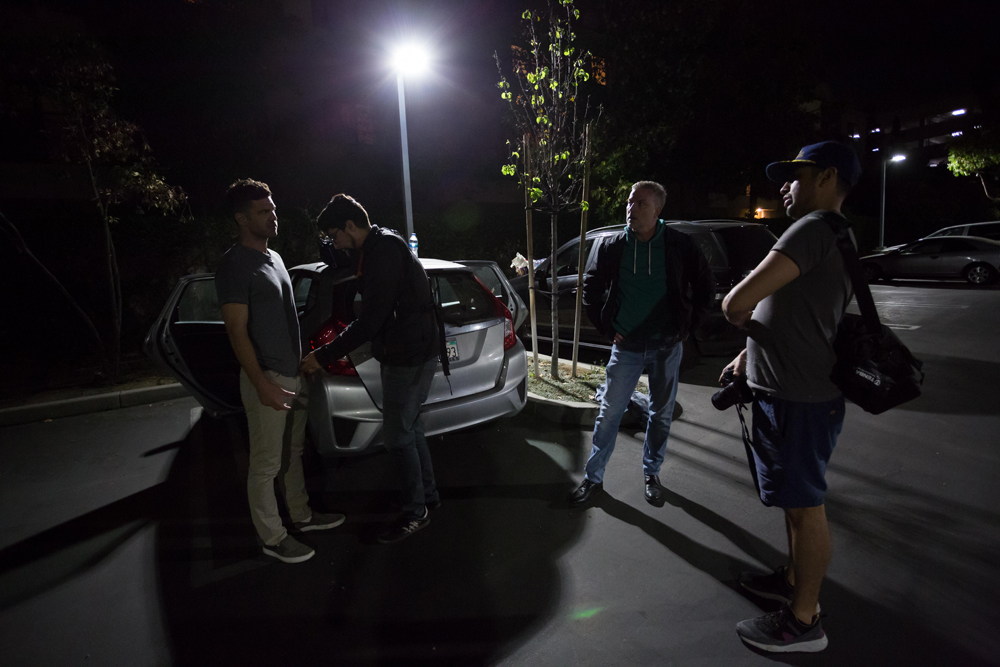
narcotics anonymous behind-the-scenes 1
narcotics anonymous behind-the-scenes 2
narcotics anonymous behind-the-scenes 3
narcotics anonymous behind-the-scenes 4
narcotics anonymous behind-the-scenes 5
narcotics anonymous behind-the-scenes 6
narcotics anonymous behind-the-scenes 7
narcotics anonymous behind-the-scenes 8
narcotics anonymous behind-the-scenes 9
REBECCA METZ
red flags - wrap
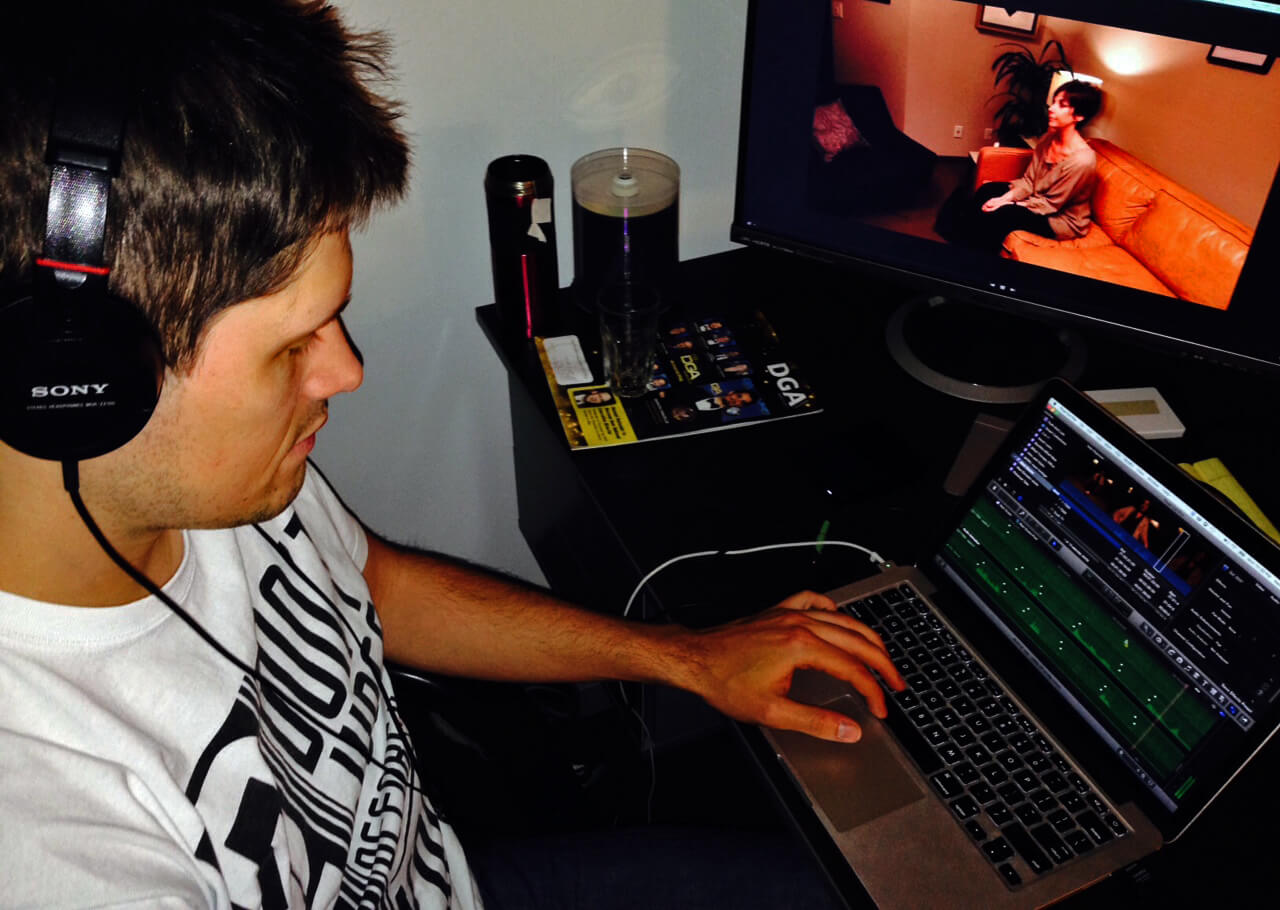
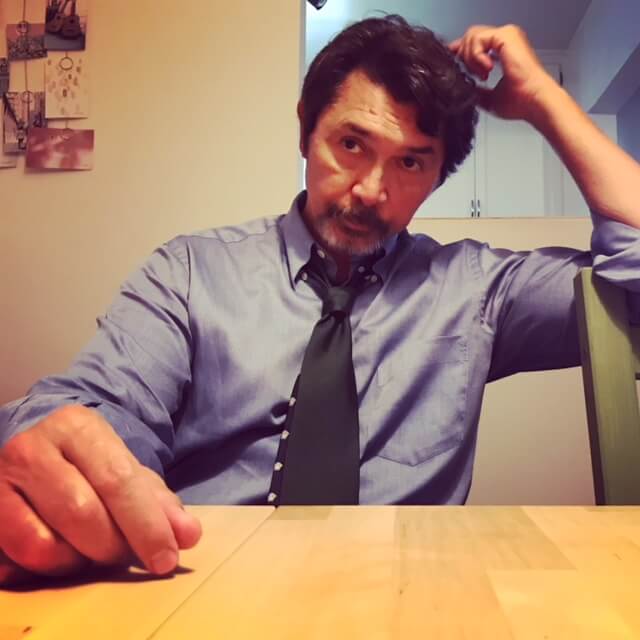
sebastian editing truth and lies
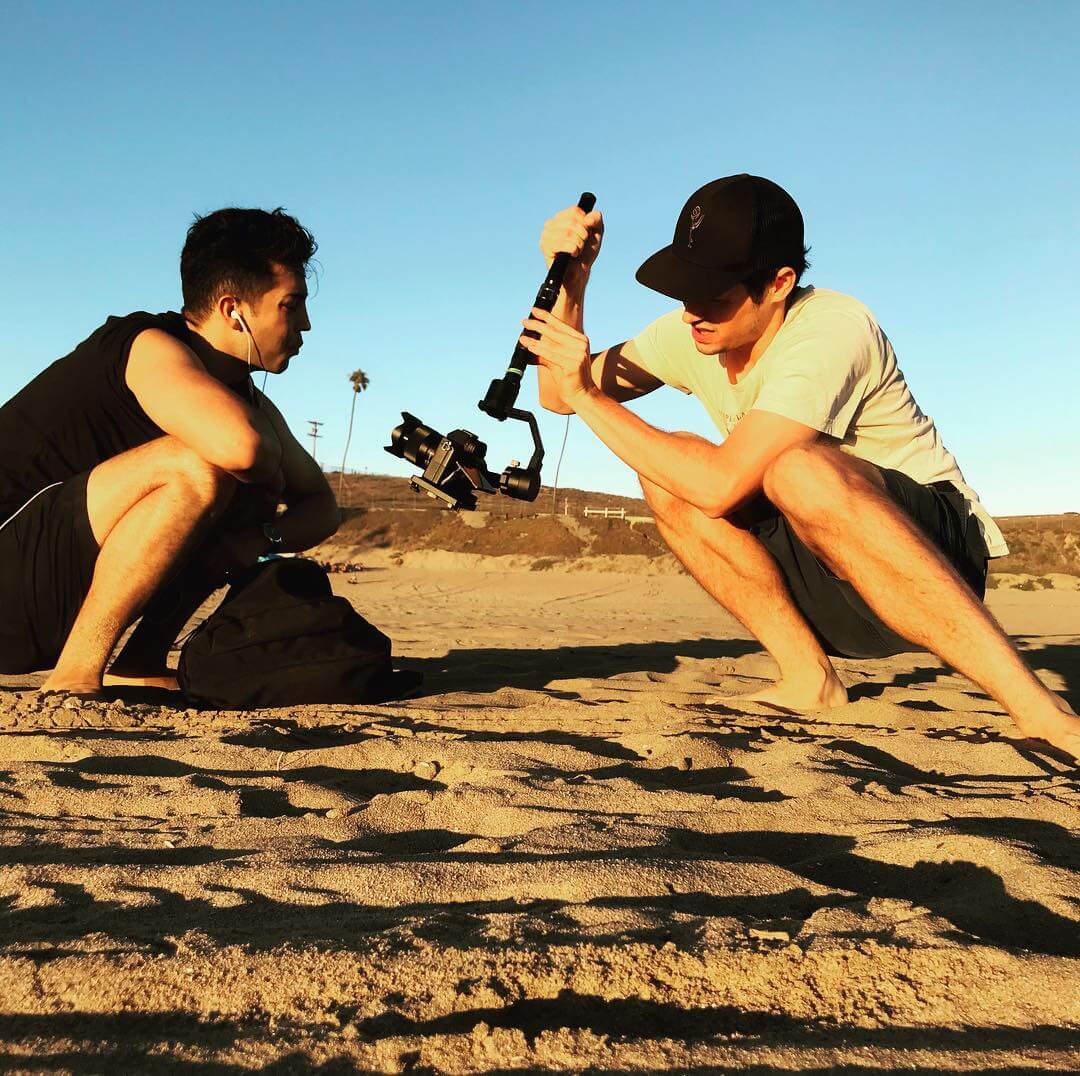
sebastian gearing up for the outro of truth and lies
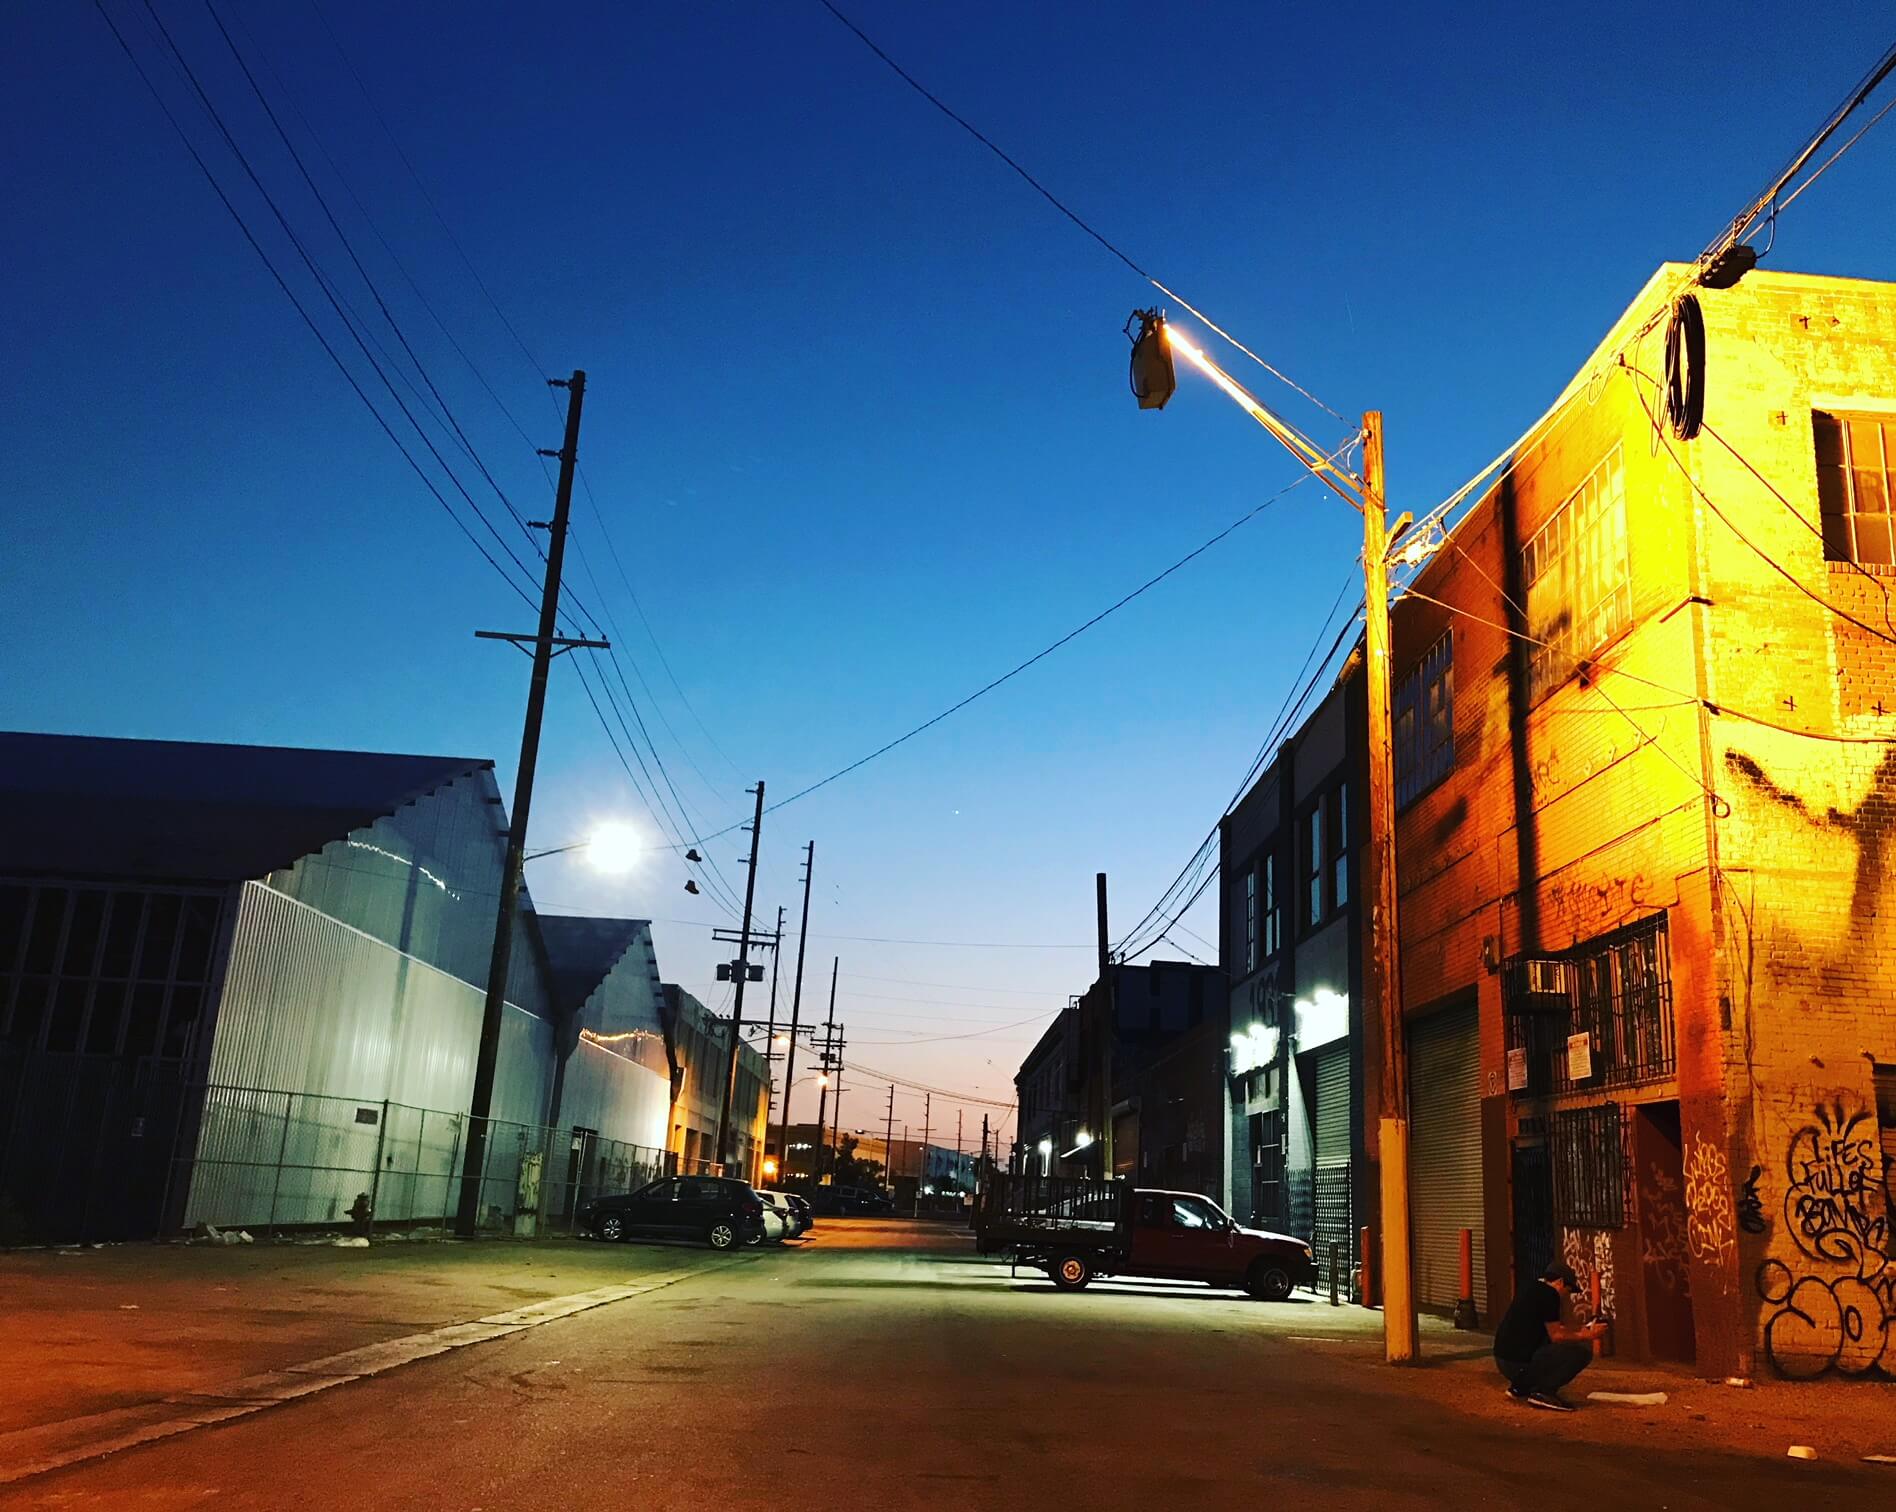
sebastian on location for the opening of season two
unnamed
EMMYS_RECEP-1783
EMMYS_RECEP-1812
EMMYS_RECEP-1893
EMMYS_RECEP-2145
EMMY CEREMONY - drinks
EMMYS_CEREMONY-2836
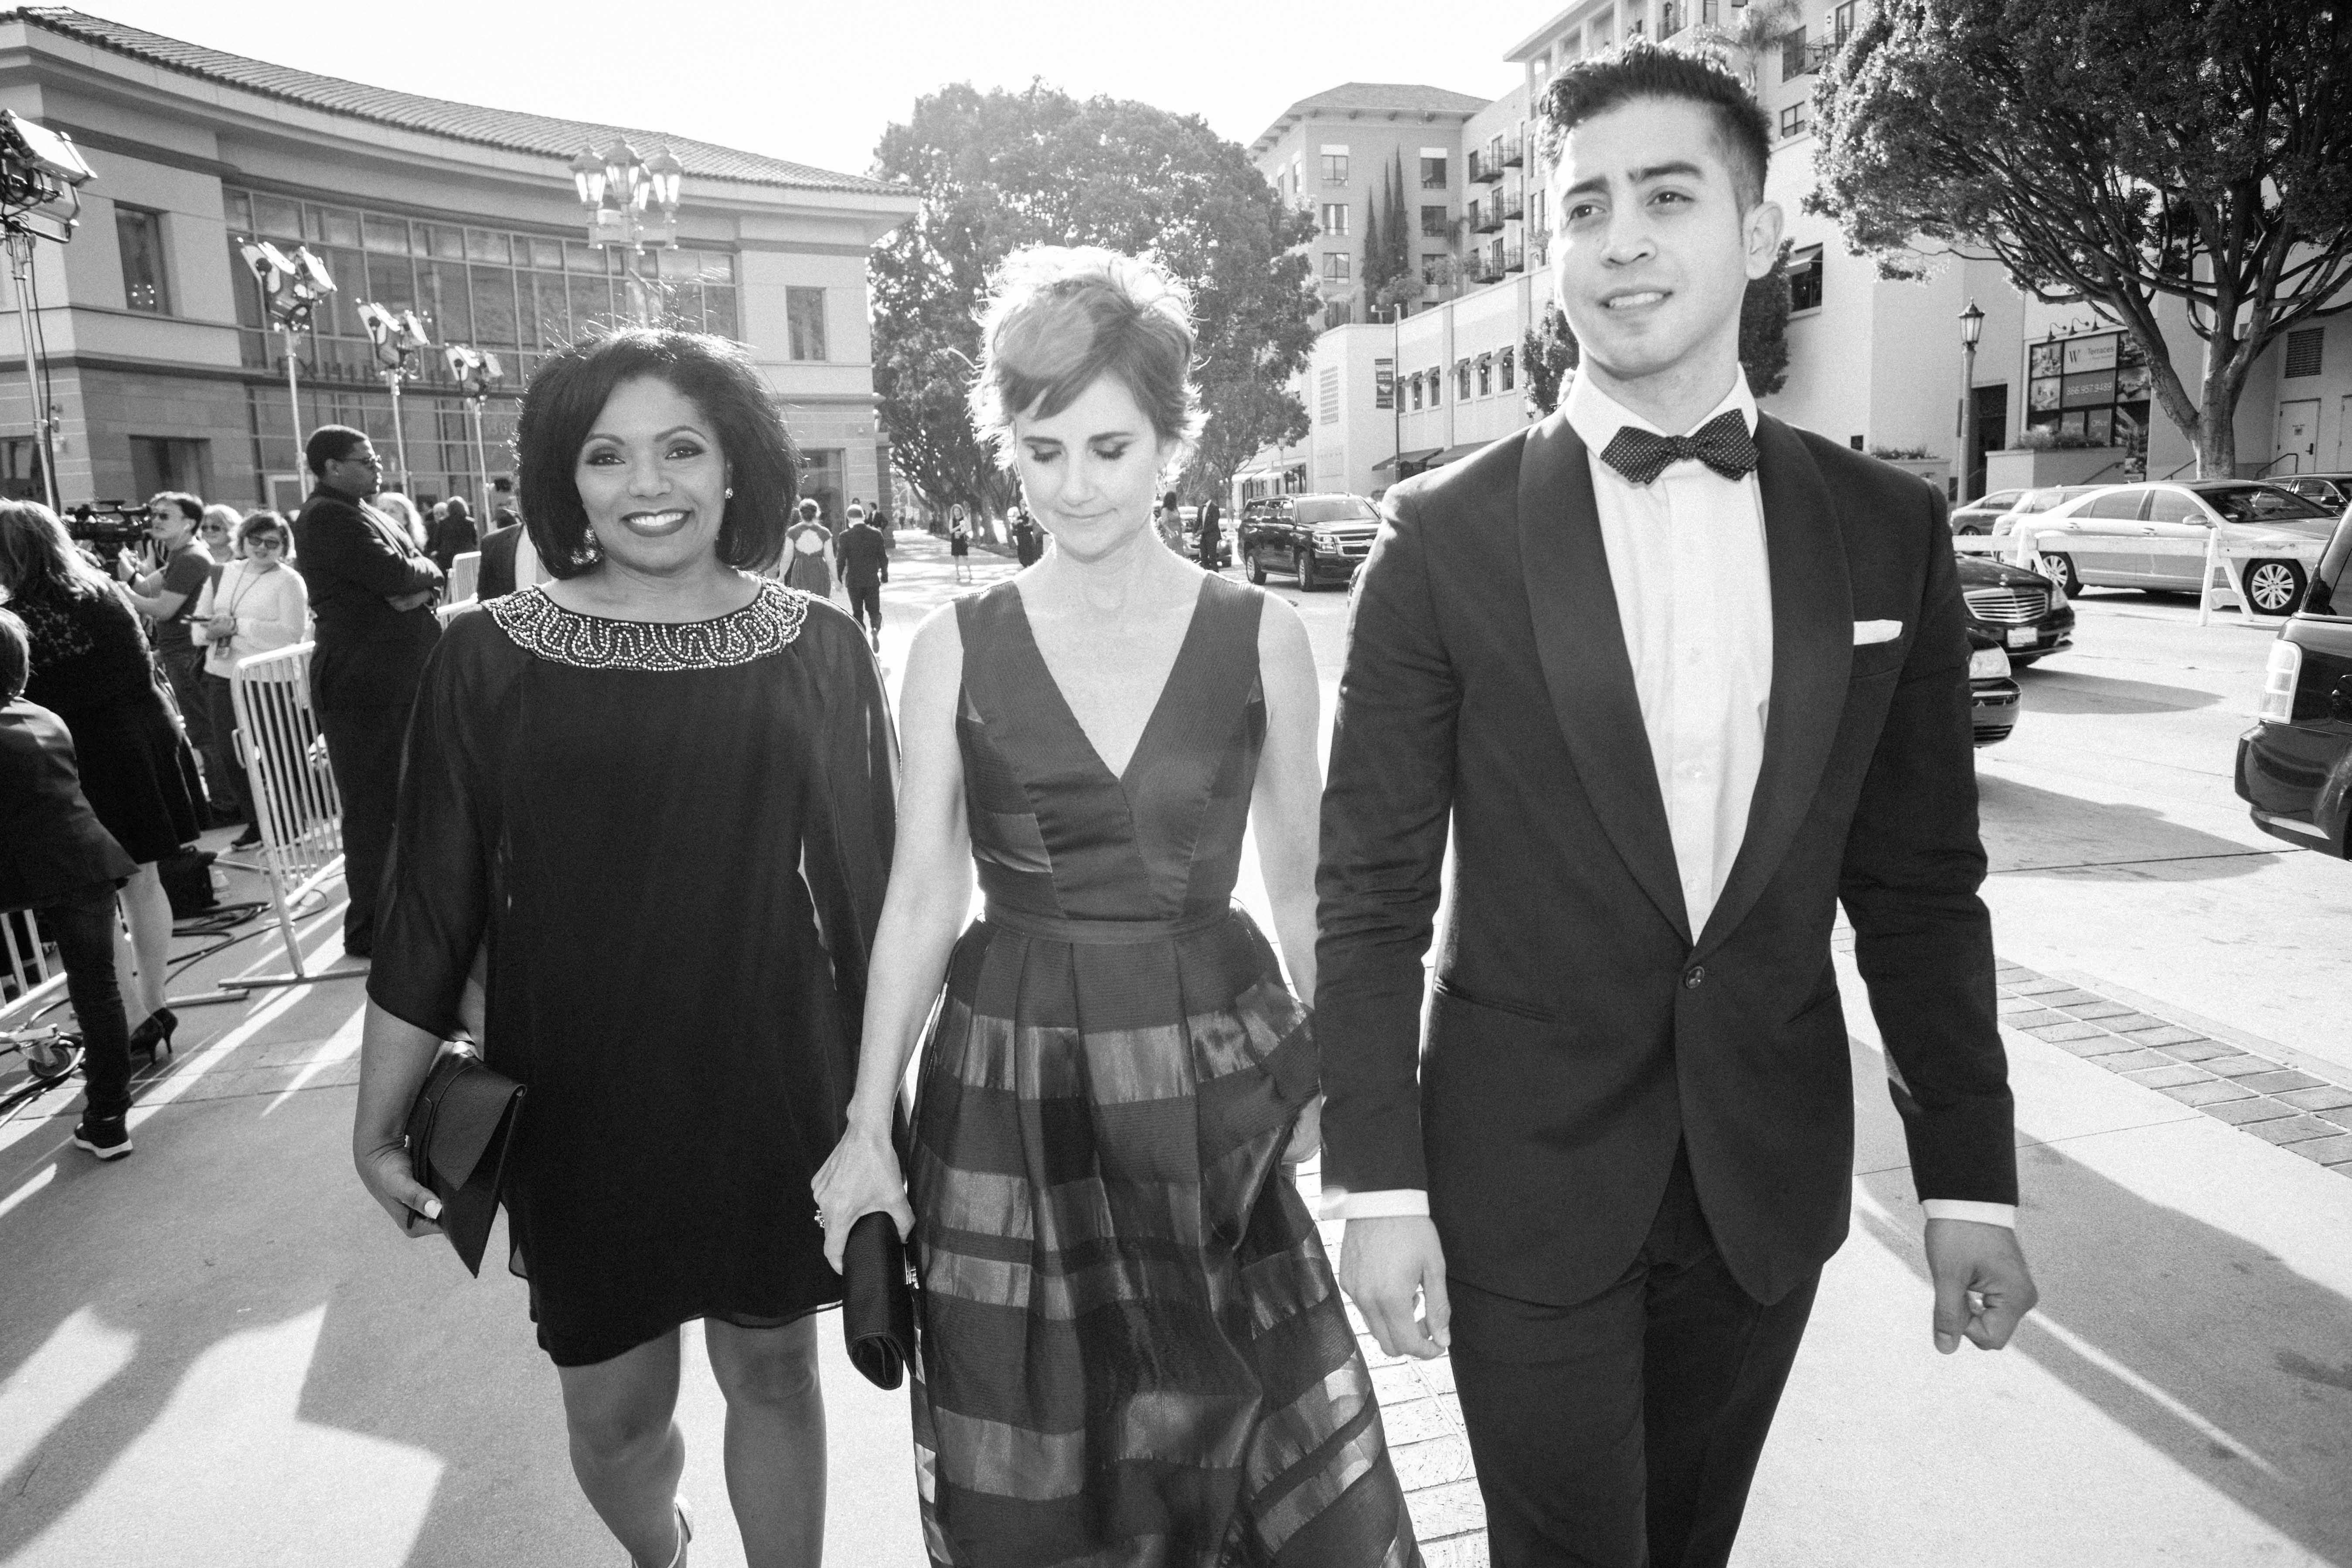
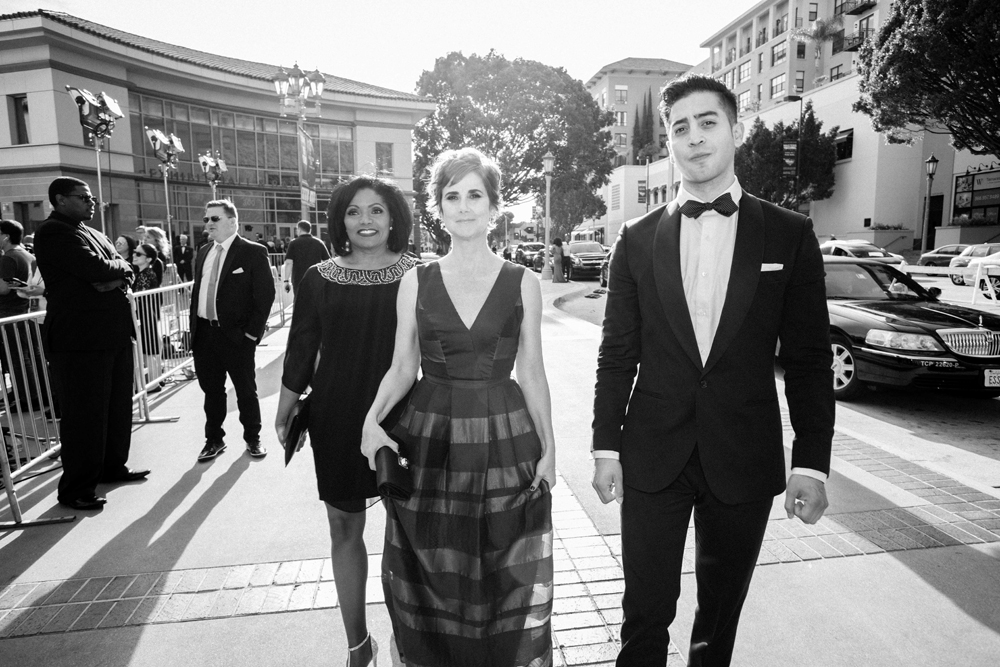
EMMYS_CEREMONY-walking 2
narcotics anonymous behind the scenes 1
narcotics anonymous behind the scenes 2
narcotics anonymous behind the scenes 3
narcotics anonymous behind the scenes 4
narcotics anonymous behind the scenes 5
narcotics anonymous behind the scenes 6
narcotics anonymous behind the scenes 7
narcotics anonymous behind the scenes 9
narcotics anonymous behind the scenes 10
narcotics anonymous behind the scenes 11
narcotics anonymous behind the scenes 12
narcotics anonymous behind the scenes 8
narcotics anonymous behind the scenes 14
narcotics anonymous behind the scenes 16
narcotics anonymous behind the scenes 15
narcotics anonymous behind the scenes 18
narcotics anonymous behind the scenes 19
narcotics anonymous behind the scenes 20
narcotics anonymous behind the scenes 21
a moment from the outro to the movie star
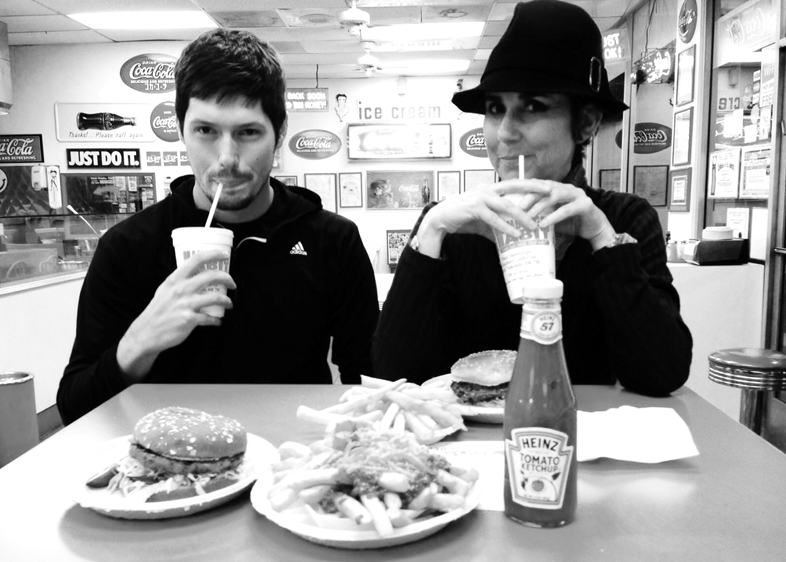
late night burger and fries_edited-1
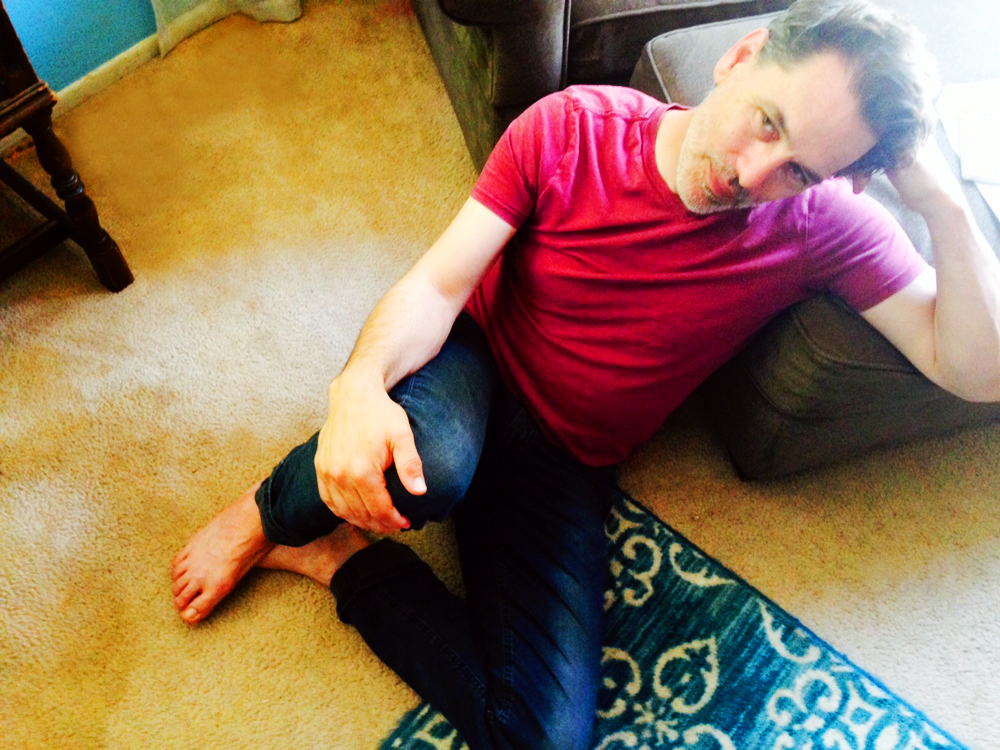
mark lewis_edited-1
Screenshot (131)
michelle and seth 2
michelle macabee and seth parker_edited-1
cr prep 2
car prep 3
car prep
michelle meets seth parker
michelle's pet loss therapy group
Gus and Michelle - in rehearsal
MICHELLE AND GUS - THE MOVIE STAR
michelle and gus - camera rehearsal_edited-1
late night giggles during a photo shoot
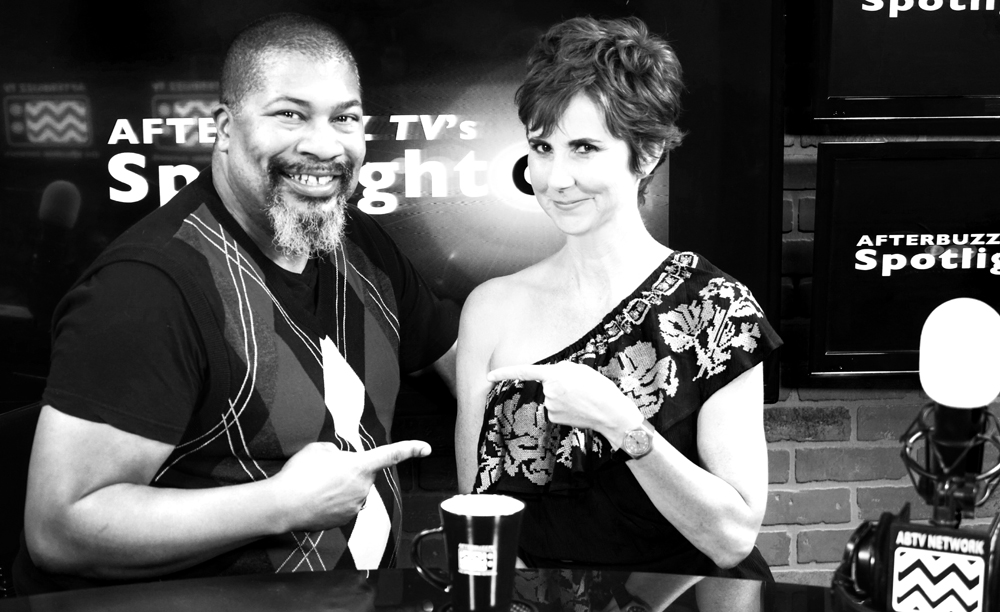
afterbuzzspotlight
gustavo and roland 6
gustavo and roland 5
mexican brown rehearsal 3
mexican brown rehearsal 4
mexican brown rehearsal 6
mexican brown rehearsal 7
mexican brown rehearsal 8
mexican brown rehearsal 9
mexican brown rehearsal 10
down by the river_edited-1
luca mercuri
on location mexican brown
gus and sonya rehearsal 1
sonya 3
sonya 2
sonya 1
smaller file 3
smaller file 2
smaller file 4
camera rehearsal cg 4
smaller file 1
for bts 2
for bts 5
for bts 6
for bts 7
for bts 8
for bts 1
camera rehearsal cg 1
blacktar intro 1
blacktar intro 2
blacktar intro 3
blacktar intro 4
rehearsal 3 black tar
rehearsal 2 black tar
rehearsal 4 black tar
rehearsal 3
rehearsal 6
DSC04681
DSC04679
DSC04699
DSC04687
celebrity haute spot interview
DSC04548
photo 1
photo 5
photo 3
photo 2
photo 4
DSC04890
DSC04896
DSC04913
DSC04928
DSC04854
IMG_4568
23031558_1983414921941050_6939623250531233525_n
IMG_1621
IMG_1686
IMG_1764
IMG_1801
IMG_1850
IMG_1901
IMG_2059
IMG_2088
IMG_2097
IMG_2145
IMG_2175
IMG_2267 (1)
IMG_2269
IMG_2297
IMG_2299
IMG_2316
IMG_2327
IMG_2329
IMG_1255
IMG_1344
IMG_2342
IMG_2546
IMG_3176
IMG_3201 (1)
IMG_3677
IMG_3680
IMG_3694
IMG_3761
IMG_3874
#10 BTS (1)
1 bts
2 bts
3 bts
4 bts
5 BEHIND-THE-SCENES
6 bts (1)
8 bts
9 bts
11 BEHIND-THE-SCENES
12
13 BEHIND-THE-SCENES #
14 BEHIND-THE-SCENES (1)
15 BEHIND-THE-SCENES #
16 BEHIND-THE-SCENES (1)
17 BEHIND-THE-SCENES NUMBER
18 BEHIND-THE-SCENES (1)
19 BEHIND-THE-SCENES NUMBER
20 BEHIND-THE-SCENES (1)
21 BEHIND-THE-SCENES
22 BEHIND-THE-SCENES
IMG_6364
IMG_6365
IMG_5628
IMG_5637
IMG_5777
IMG_5792
IMG_5827 (1)
IMG_6198
IMG_6199
IMG_6200
IMG_6201
IMG_6202
IMG_6361
IMG_6362
IMG_6363
IMG_5424
IMG_5436 (1)
IMG_5440
IMG_5500
IMG_5609
IMG_5623
IMG_5627
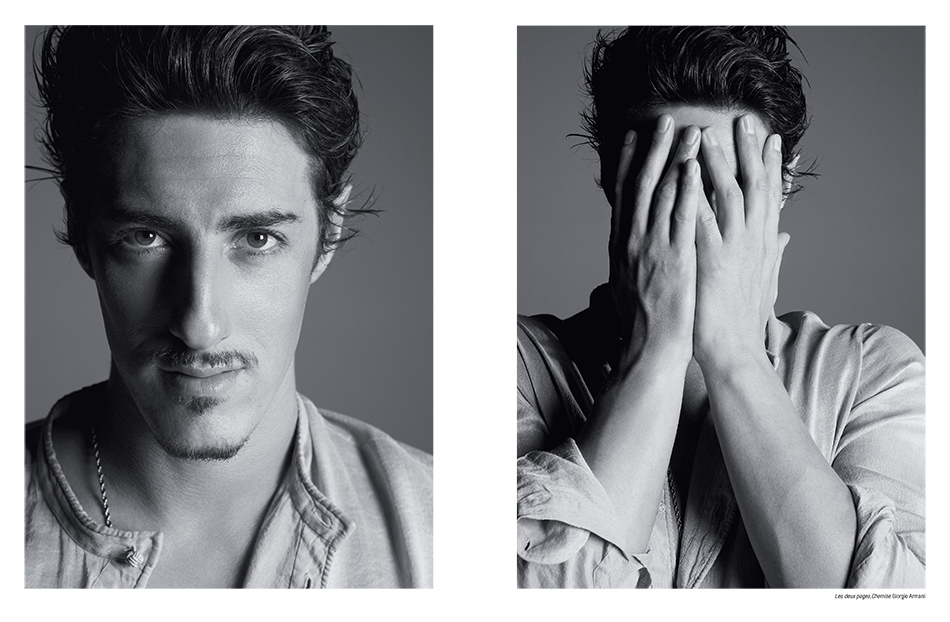
eric balfour
Eric-Balfour-3
IMG_6548
IMG_6549
IMG_6550
IMG_6842
IMG_7145
IMG_7160
IMG_7208
IMG_7209
IMG_7210 (1)
IMG_7211
IMG_7212
IMG_7251
IMG_7253
IMG_7254
IMG_7256
IMG_7257
IMG_7275
A7A0609F-3BE3-4C76-82CB-B0CA5DB69FC7
KTLA - announcement day of
48D472B8-5648-4713-9269-D5DF20325AD8
07B69B78-7142-421F-BA4F-00956CAF19AE
E5E5E27D-AF84-4530-A95A-53EA6E971D38
HALLMARK CHANNEL_edited-3
6E375719-B33F-4C9A-97F7-047160ED8D0F
IMG_8119
IMG_5846-e1553099398833
5CE10EED-55A4-4DF9-A1AA-29A0D0638ED6
6CE447D3-2B82-4848-B064-FA9A76E61874
A7DC763B-4233-4988-A7B5-1C042ECD535D
7BD57748-39AF-47DF-81A7-22BEA43D2AE8
FEF320CC-1B6A-4B55-A124-946276437763
73B71F7C-729D-4B5D-8015-A78685638117
BFED7292-3341-4CC1-9212-2320EDF94CFA
8A2C66E7-7EC5-43CF-8D06-68539E967AD9
758E8357-7A43-40F0-951F-E0B8F0F8FADA
Close Menu
ABOUT
STREAM NOW
WATCH TRAILERS
SEASON ONE
SEASON TWO
SEASON THREE
RENT THE SERIES
SEASON ONE
SEASON TWO
SEASON THREE
IN THE NEWS
THE CAST
SEASON ONE
SEASON TWO
SEASON THREE
THE PODCAST
THE MUSIC
WATCH INTERVIEWS
DOWNLOAD POSTERS
SEASON ONE
SEASON TWO
SEASON THREE
LOGO
GALLERY
SERIES
BEHIND-THE-SCENES
MEDIA
AWARDS
IMDb
instagram
All Rights Reserved, Immediate Vision Productions


")


")


")


")


")


")

")

")

")


")


")


")


